How to Start Sculpting in Clay (beginners guide)
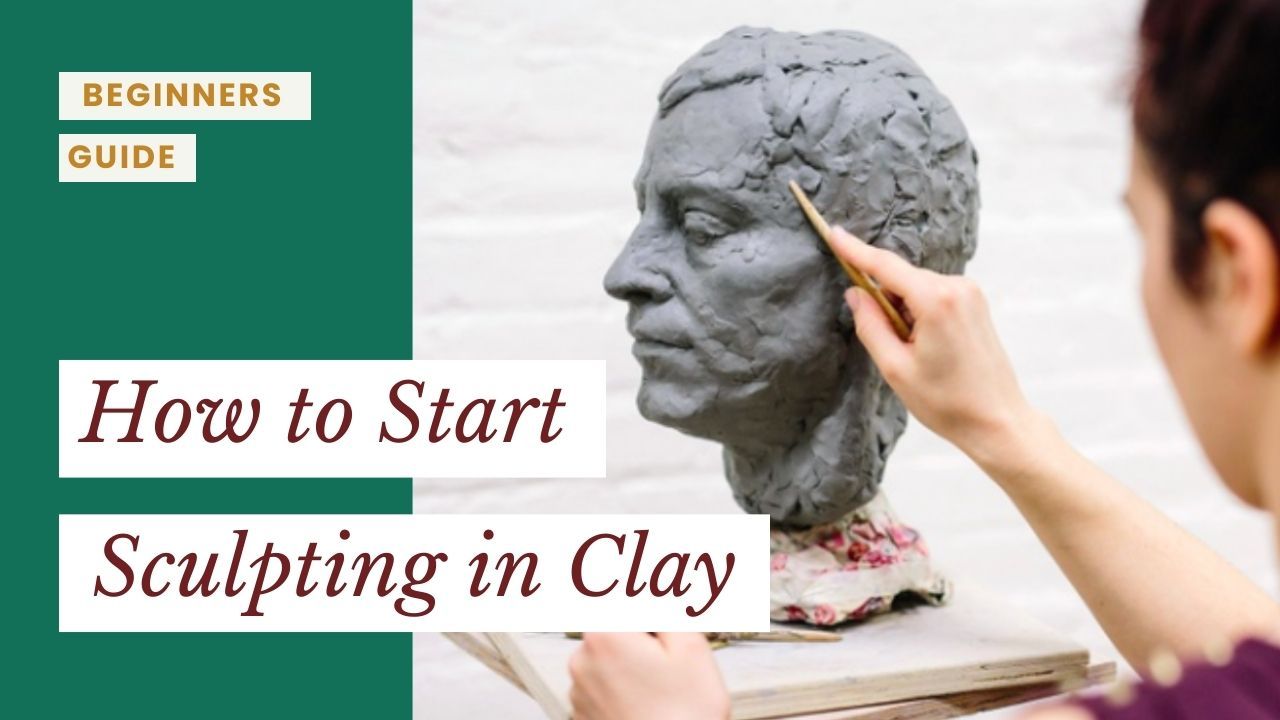
Have you always wanted to learn how to sculpt?
Whether you are a complete beginner or an artist in another medium, this guide will help you to get started with traditional sculpting in clay.
In this beginners sculpting guide:
- What kind of clay is best to use for sculpting
- What kind of tools do you need to start sculpting
- What kind of workspace do you need to sculpt
- How to work with clay without it drying out
- How to create a simple sculpture in clay
Want step-by-step video instruction?
Join my Free Intro to Clay Sculpting online workshop!

1. What kind of clay is best to use for sculpting?
There is a wide variety of sculpting clays that you can use. Generally, they fall into three broad categories.
3 Types of Sculpting Clays
-
Water-based clay
-
Oil-based clay
-
Self-curing clay
In my sculpture courses, I recommend water-based clay because it is very malleable and fun to work with. It does create a bit of dust, but it's not unmanageable to clean (more on that later).

Clay comes in many different colors, and can fire in a kiln at different temperatures.
The best clay to start sculpting for beginners is a low-fire clay, sometimes called earthenware. It requires a lower temperature to mature in the kiln - usually under 2000 F.
You can also choose to have grog in your clay body. Grog is small particles of fired clay added in to create additional stability. It will feel like sand.
A great clay to use when sculpting is a water-based, low-fire sculpture mix with fine grog in a buff or grey color.
You should be able to find this at your local art store or pottery store. If you don't have any stores in your town, you can purchase your materials online.
2. What kind of tools do you need to start sculpting?
You can start sculpting with nothing other than your two hands! Of course, sculpting tools will give you a lot more possibilities to create various shapes and forms.
Basic Beginners Sculpting Tool Kit:
- a couple wooden modelling tools for shaping
- a few metal loops for removing clay
- a cutting wire for cutting off slabs
- a set of sculpture calipers to measure
- a paring knife to cut and make straight lines
- a fork to score your clay
- a spray bottle to keep clay hydrated
The Kemper line of pottery tools is a really common brand that should be easy to find.
I listed some good model numbers in the Free Beginners Tool Guide PDF so make sure that you download it below!

These are the tools you should be able to find at an art store or pottery store. You can also find more specialised tools from sculpture stores or online sculpture suppliers (check the Tool Guide PDF for links).
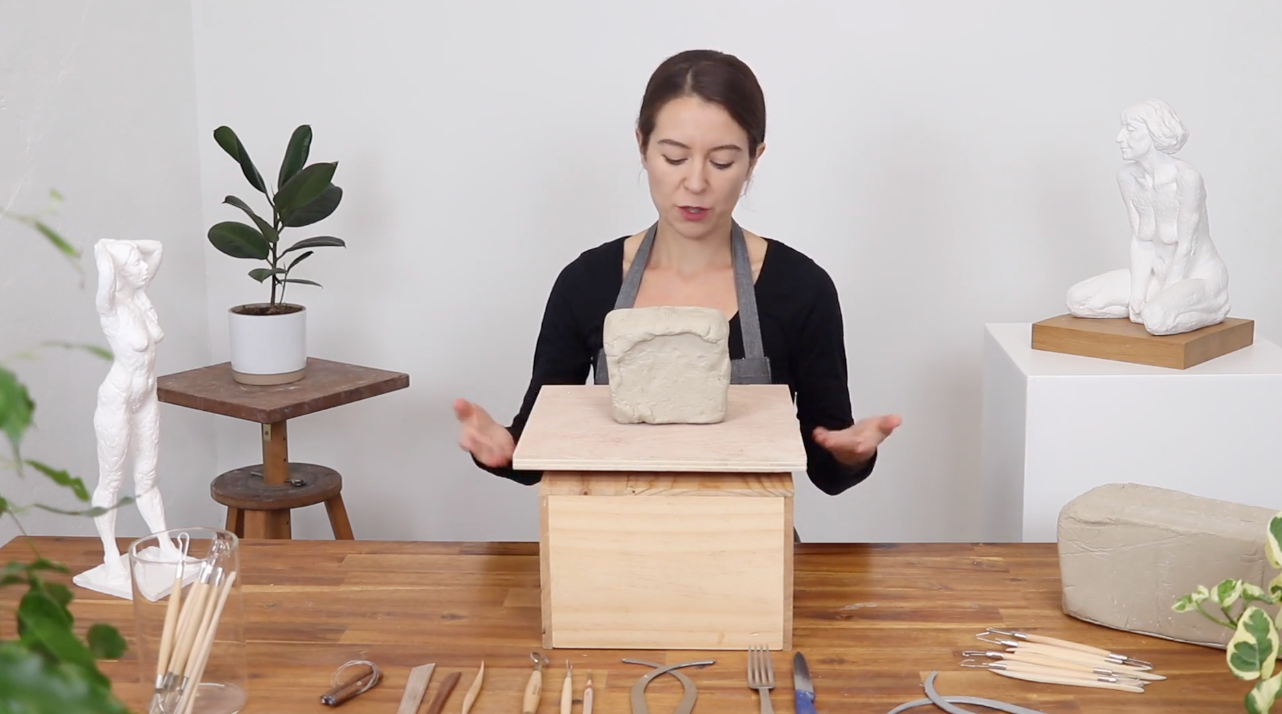
3. What kind of workspace do you need to sculpt?
Sculpting workspaces can range from a simple table to a large messy studio.
Here's are three essential elements you need to consider to get started...
1. Your working table or stand
If you already have an art studio or spare room, all you have to do is clear space on a sturdy working surface to make a little bit of a mess.
If you don't have a separate room, you can start out on your dining room table, or your kitchen counter.
(Tip: To prevent having dust on the floor or marking up your table, put down a fabric or plastic drop cloth.)
The ideal solution is to invest in a specialised sculpting stand.

This is recommended as it is designed for optimal working conditions. You can approach the sculpture from all angles easily, turn it 360 degrees for easy viewing, and adjust the working height to suit your needs.
However, you can definitely start without one!
2. Standing or sitting to sculpt
When you are sculpting, you want to be able to see your sculpture from the optimal viewing point - generally between eye level and an easy working level for your hands.
This depends on if you are standing or sitting. Standing is often recommended, but you may prefer to sit.
If you find that your table surface is too low, use a sturdy wooden box or prop to lift it up to a better height to avoid having a distorted view of your sculpture.
3. What kind of sculpting board to use
A plywood board is a great choice because it won't warp from moisture. However, you can also use melamine or something similar.
If you aren’t using a sculpting stand, you will want a lazy susan (or turntable) so that you can easily spin your work in progress to see it from all directions.
Want step-by-step video instruction?
Join my Free Intro to Clay Sculpting online workshop!
4. How to work with clay without it drying out
Water-based clay relies on water to maintain its malleability. When you want to be able to work quickly and adjust large forms, then keep it moist and pliable. Later when you are ready for more fine detail you can let the clay dry out a little.
Keeping your clay pliable over multiple sessions
Since clay dries out when exposed to air you need to protect your work in progress if you want to work on your sculpture over multiple sessions.
To do this, simply keep it covered in a plastic bag.
If you will be leaving it for longer than a week, you can also wrap a lightly damp cloth over the clay before placing it under plastic to keep more moisture.
Other tips for sculpting with clay
Tips for cleaning up
For health reasons it is best to use wet cleaning methods, like a sponge, to prevent breathing in clay dust (sculpting should not produce much dust).
If you start doing a lot of sculpting, do not to wash a lot of clay down the drain as it can eventually clog. Instead, use a bucket to wash up with and dispose of that water outside.
Firing your sculpture
Once your sculpture is complete, you can hollow it out, and let it dry out slowly before firing it. A dry clay sculpture can last a long time, but it is very fragile.
Kiln firing allows your sculpture to become a permanent lasting artwork.
To fire your sculpture, you’ll eventually need access to a kiln.
Your local pottery store might provide firing services. If they don't, they might be able to recommend a guild or association of sculptors or potters who can point you in the right direction.
5. How to create a simple sculpture in clay
Once you've got your setup and materials, you need to get started working with clay.
A good way to start out is by sculpting a still life object.
This will help you to practice seeing and shaping organic forms in clay without too much pressure. You can apply these skills to more complex future projects, like sculpting the human figure in clay.
It’s ideal to practice sculpting by copying a simple plaster cast of a sculpture. The large features of the David are commonly reproduced and used for this purpose.
Pictured below are some students from previous courses with a large ear sculpture.

However, you may not have access to plaster casts. In that case, you can get started by sculpting an organic form like a red bell pepper, or another exciting fruit or vegetable. (Exciting in the sense that it has alot of interesting shapes...)
The images below show the process of sculpting a bell pepper (excerpts from the Intro to Clay Sculpting workshop > you can join it for free here to watch the whole process on video!)
Stage 1: Block In
First, you need to shape the big forms, which is often called blocking in.
This is a vital principle - you always want to work from the largest forms to the smallest.

View your reference from different perspectives to block out the overall proportions.
Add or remove clay to try to get the same shape. If your clay is nice and soft, you can just add the clay on and give it some pressure.
Technical tip: Be sure that when you add clay that you don’t trap any air pockets, because that can cause problems when firing. You want a nice solid mass.
Stage 2: Develop the Forms
Now you will start looking at the next level of forms, and break up the large mass into smaller shapes and forms. Use your tools to shape the clay.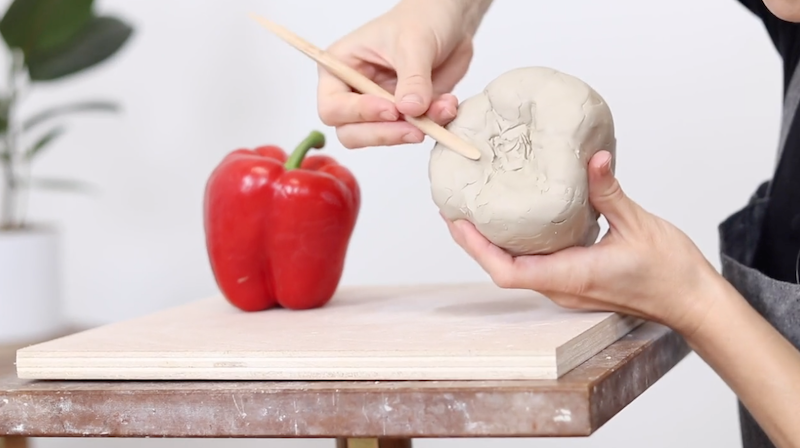
Stage 3: Refine the Details
Once the forms are developed, then it is time to start refining. Try to get curious about all the undulations and imagine you are creating a portrait of this object.
Look for the lowest points of the form, the highest points, and how they connect to each other.
The surface texture can be left textured, or you can smooth it out with your tools.

Stage 4: Finishing the Sculpture
When you are satisfied with your creation, you can then hollow it out to prepare it for kiln firing. Then let it dry out slowly.
And that's it!
Your next steps to start sculpting...
If you've made it all the way to the end of this post, it means you are seriously interested in learning how to sculpt.
I'd like to invite you to join in my free introductory video series that will show you all this step-by-step (and a lot more!)
Join my Free Intro to Clay Sculpting online workshop here!
ARE YOU ON THE LIST?
Online Atelier Program for Sculpture:
Master the foundations of traditional clay figure sculpting.
Enter Your Details Below to Get Notified:
You can unsubscribe at any time.