How to Sculpt the Human Figure in Clay
A step-by-step beginners guide
An overview of the sculpting process from start to finish (with images).
In This Guide
- Set Up for Success
- Block In the Pose
- Develop the Anatomical Structure
- Sculpt the Organic Forms
- Refine the Details
- How to Hollow your Sculpture
- Your Next Steps

All images in this post are from the step-by-step video instructions in my online teaching programs. Learn more about the current figure sculpting online courses and programs available here.
1. Set up for Success
Set up your working space
Whether you are setting up from home or your own studio, make sure you have:
- enough space to sculpt in
- a sculpting stand (or a table and a turntable)
- good enough light
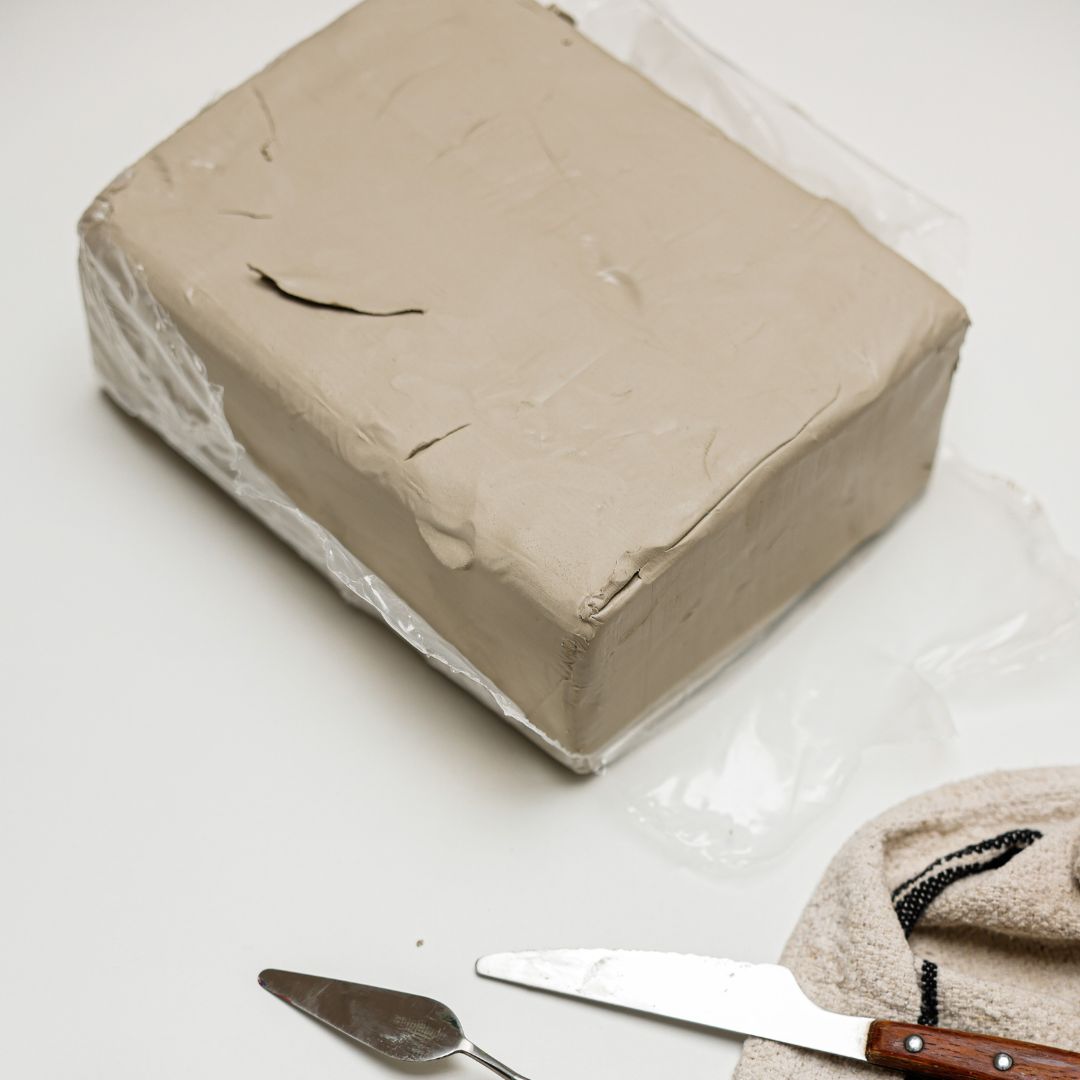
Choose your sculpting clay
I recommend water-based clay for beginners because it's very easy to work with and you have the possibility of creating a permanent artwork using the kiln firing process (more on that at the end).
You can also use plastilina or oil-based clay if you adapt the armature (I recommend an internal wire figure… but that is a post for another day!)
Next, you want to prepare your inspiration…
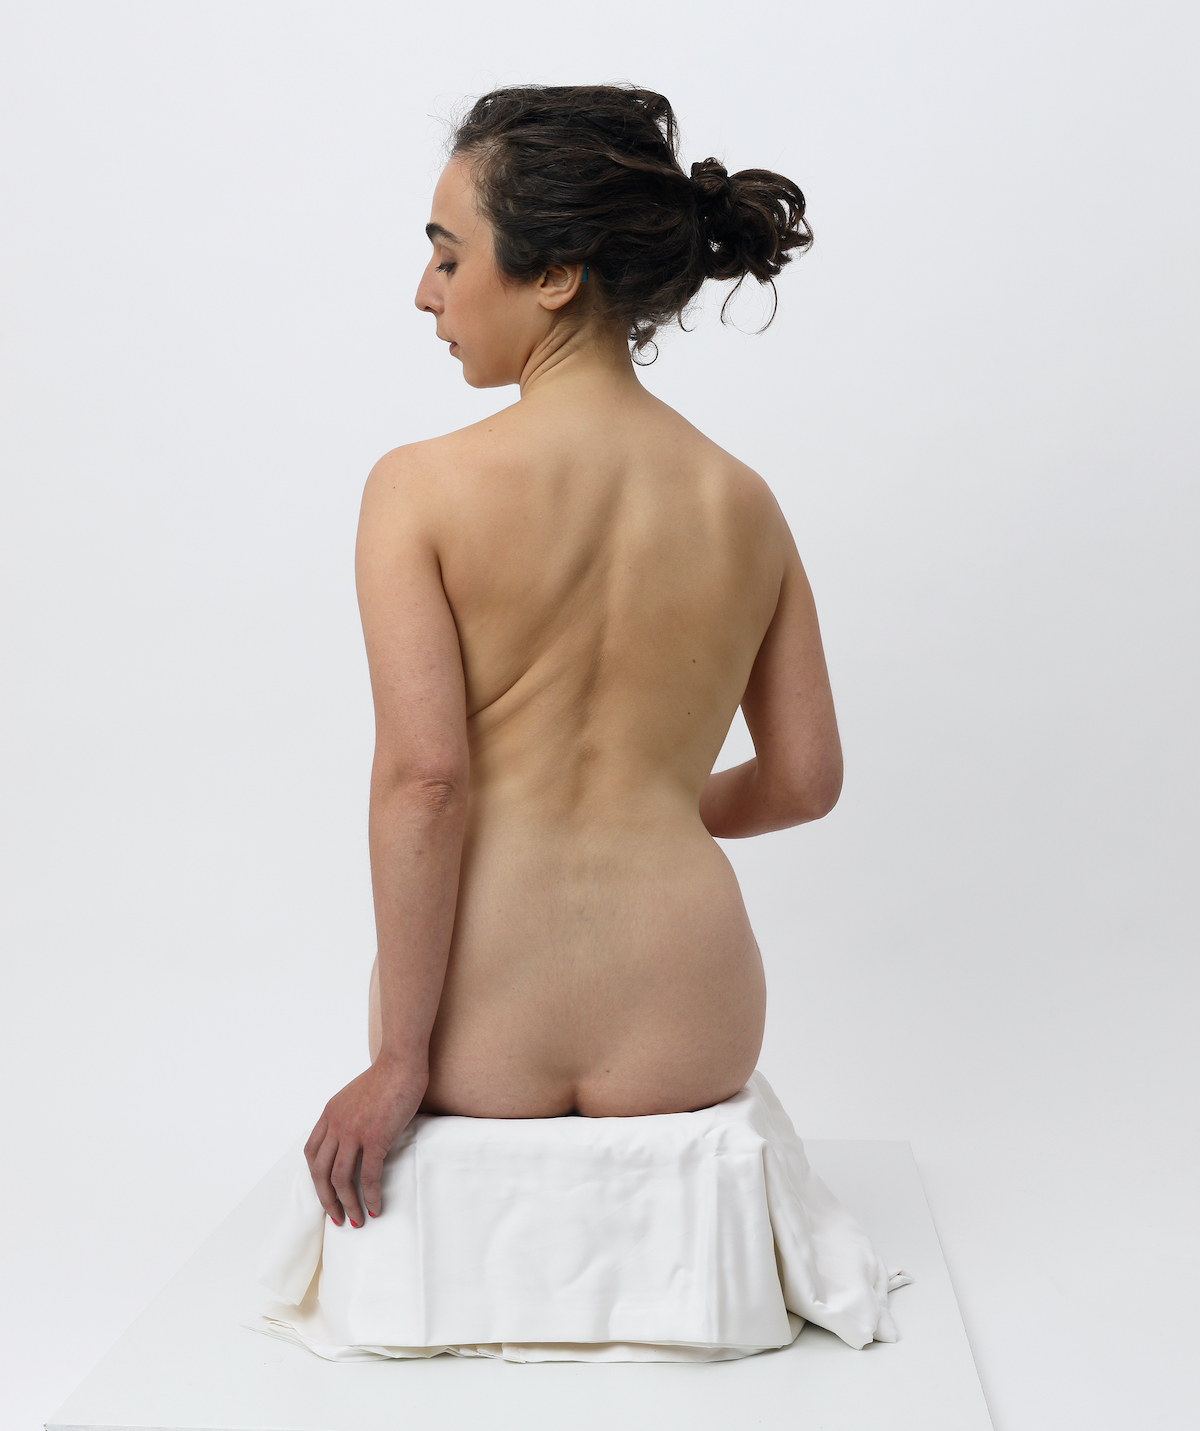
How to sculpt the figure from photo reference
It’s wonderful to work directly from a model to see all the forms in three dimensions. However, it is not always an option, so you can also work from photo reference.
The benefits of working from photos are that you can work at your own pace and schedule.
It’s ideal if you can hire a willing model and take your own photos.
Some tips for taking good photos:
- Pick a simple seated pose for your first project
- Take your photos from all angles (360 degrees)
- Use a tripod and place the camera at eye level (to avoid distortion)
If you aren’t comfortable with your camera, you can also hire someone to help you.
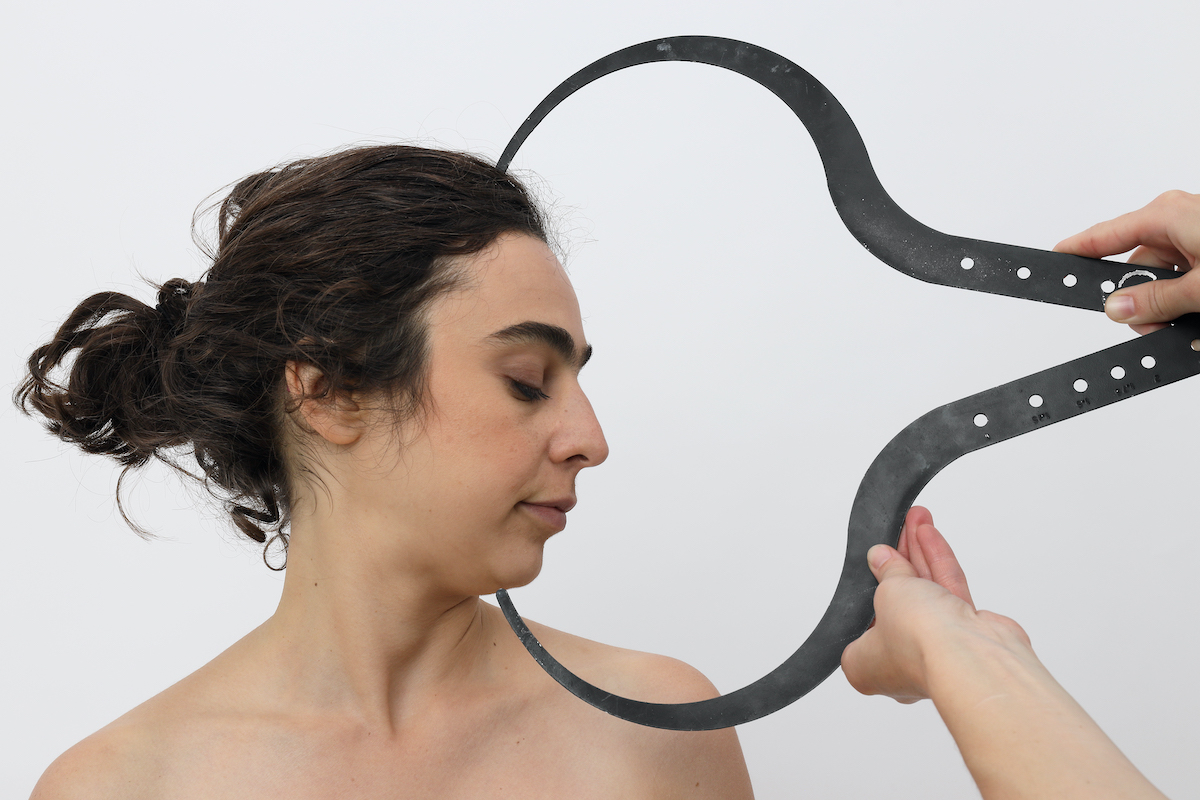
If you can, use calipers to take direct measurements from the model to determine your proportions.
Print out all the photos and put them up in your studio.
Now you’re ready to create your armature…
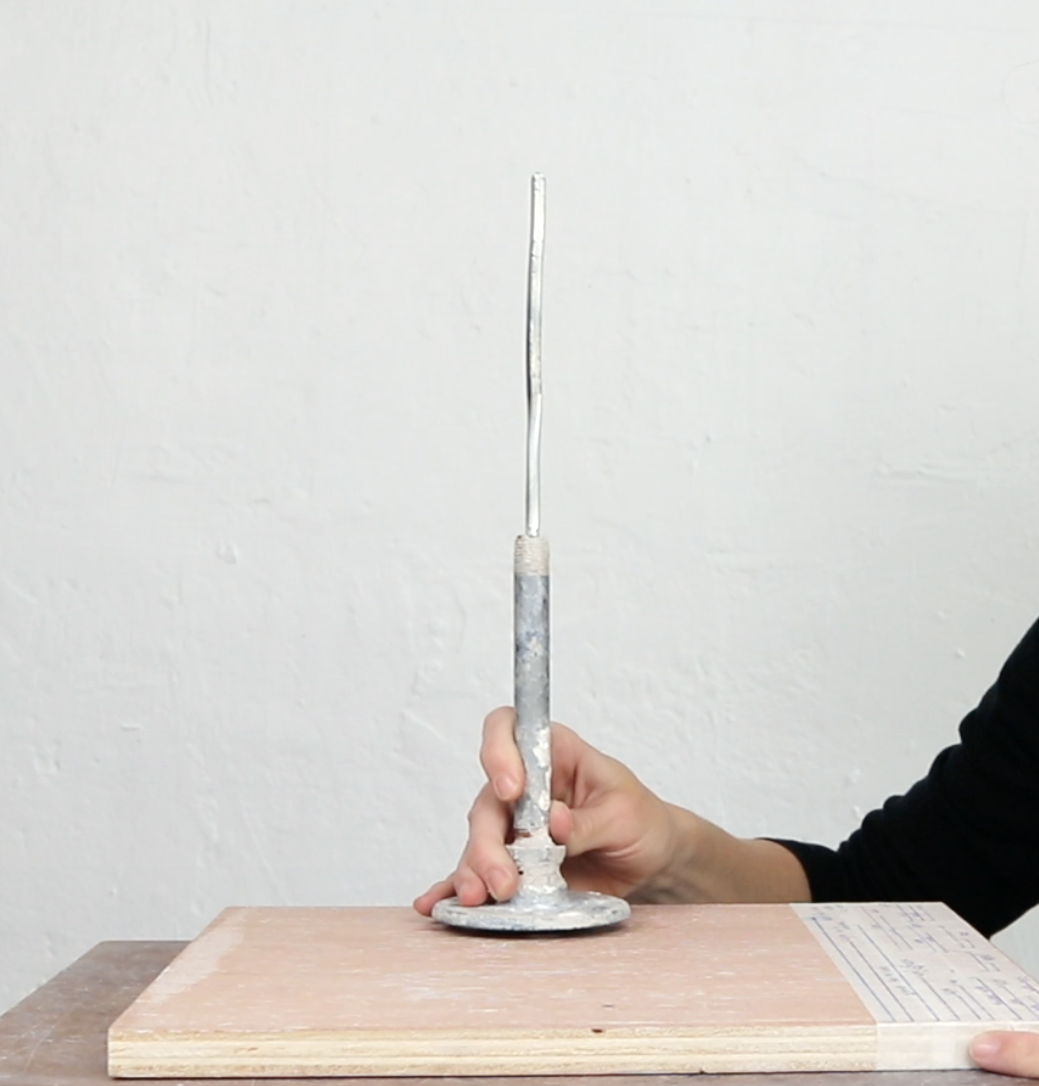
Creating a simple armature for sculpting the figure
What is an armature for?
It is to support the weight of the clay. For most small sculptures, a simple post and wire will be perfect. I use plumbing equipment, but you can also construct one from wood or other suitable materials.
Just remember - if you want to fire your sculpture, you have to be able to remove the armature easily later.
Now the fun part… it’s time to start sculpting!
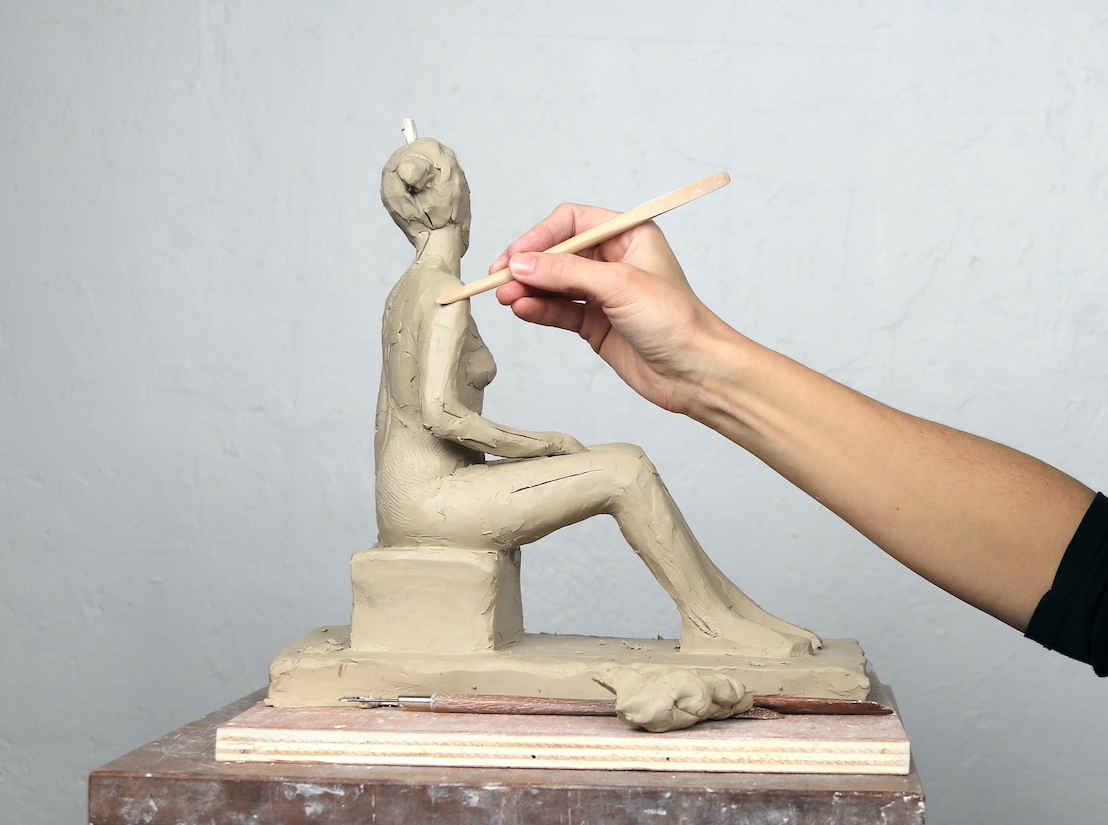
2. Block in the entire pose of the model in clay

This is the most vital stage! Here is where you will rough out the sculpture, using either a canon of proportions or the measurements you took from your model.
You want to look at the large shapes and positions of the body and establish a big impression of the entire pose from all directions.
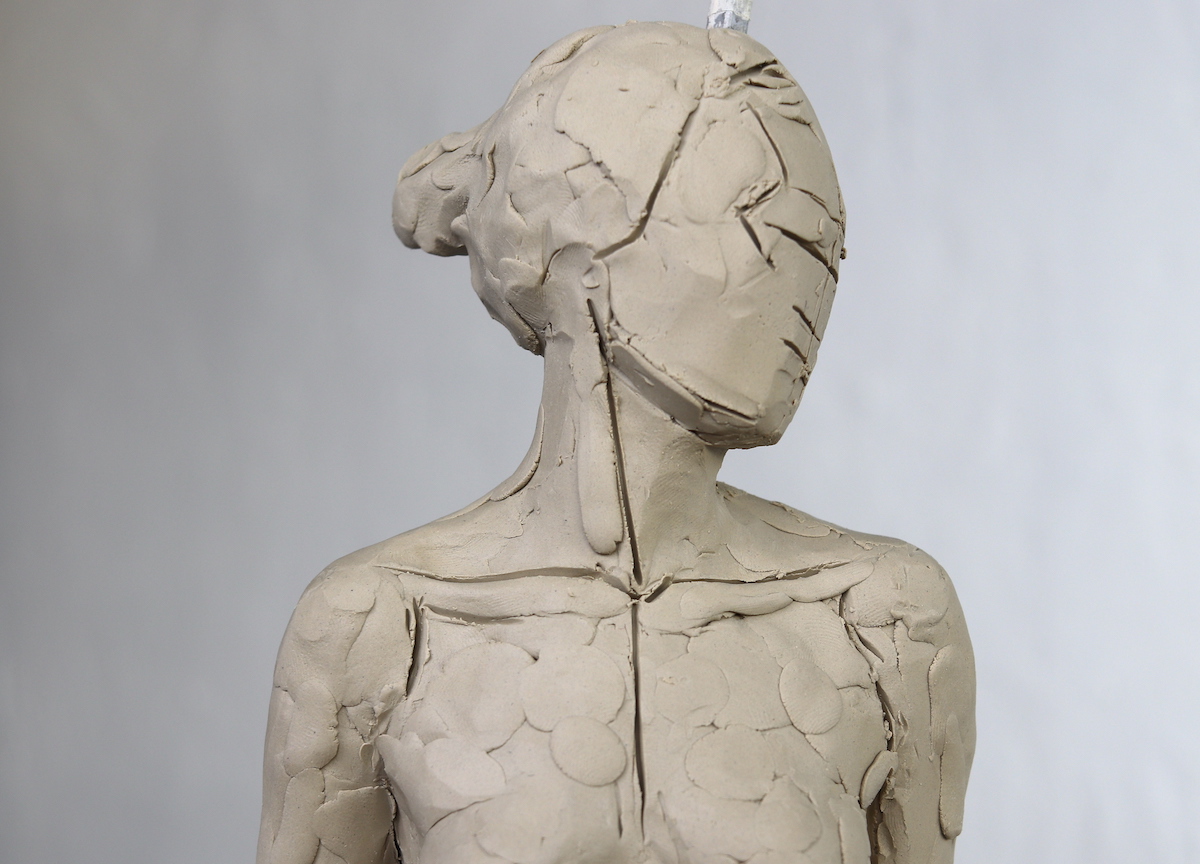
3. Develop the anatomical structure of the body

Next, develop the volume and structure of the figure.
It’s helpful to learn the key anatomical landmarks that reveal the underlying structure of the body and to simplify the skeleton into geometric shapes.
No details are necessary at this point!
4. Sculpt the organic forms of the figure

In this stage, you can really begin to develop the shapes and forms of the body, and of the unique model that you are working with.
Each individual and each pose will be different.
With practice, you can train your eye to represent the shapes that you are seeing more accurately.
Want to learn how to sculpt life-like human figures in clay?
My online Atelier program takes you step-by-step through mastering the fundamental skills you need to create figure sculptures you love. Get on the waitlist for next time it opens:
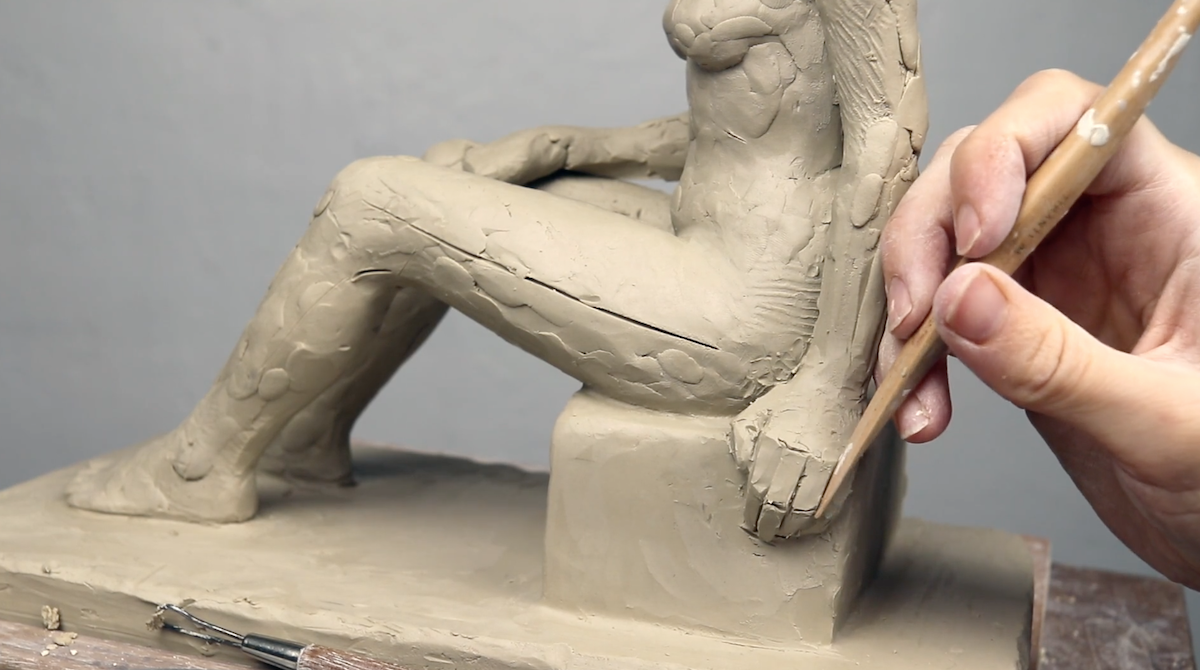
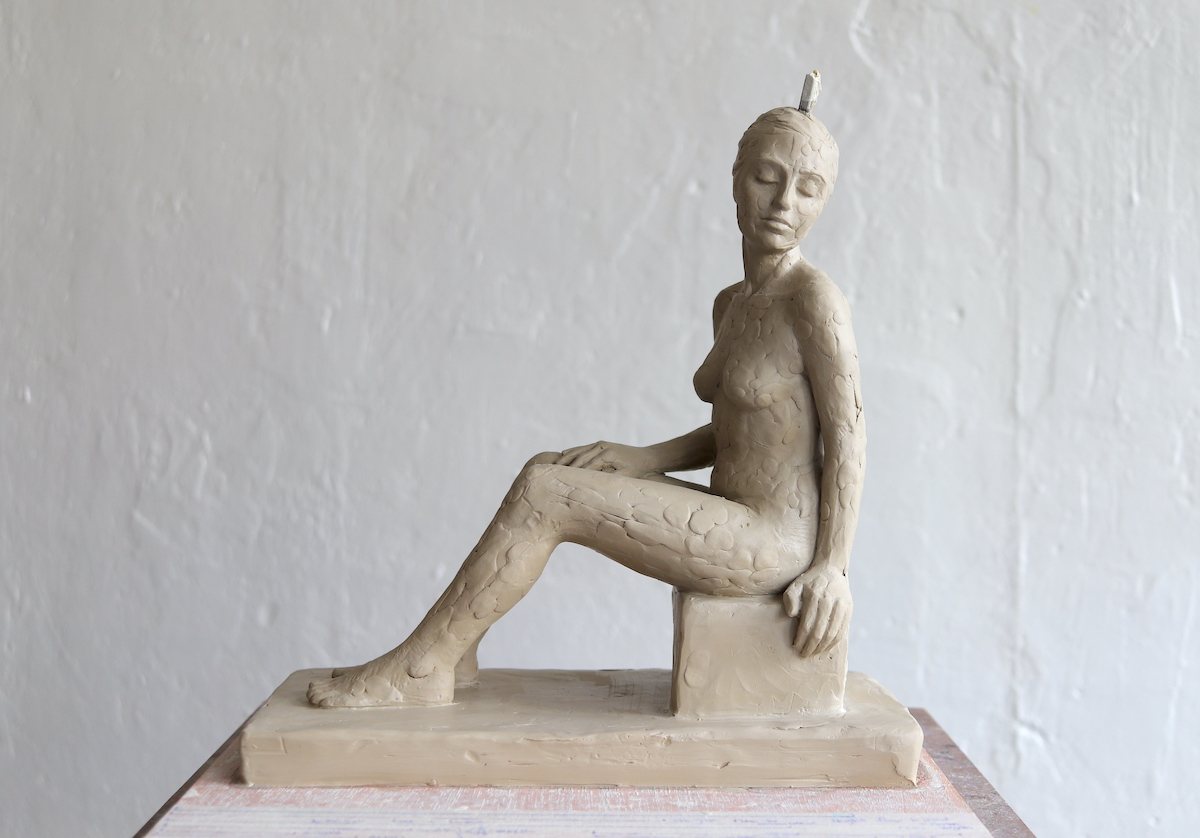
5. Refine the details of your figure sculpture
As the sculpture progresses, continue to use the same principles of blocking the planes and shapes in and then slowly refining the forms.
You can apply canons of proportion, or take direct measurements from your model to determine the correct proportions for the head, hands, and feet.
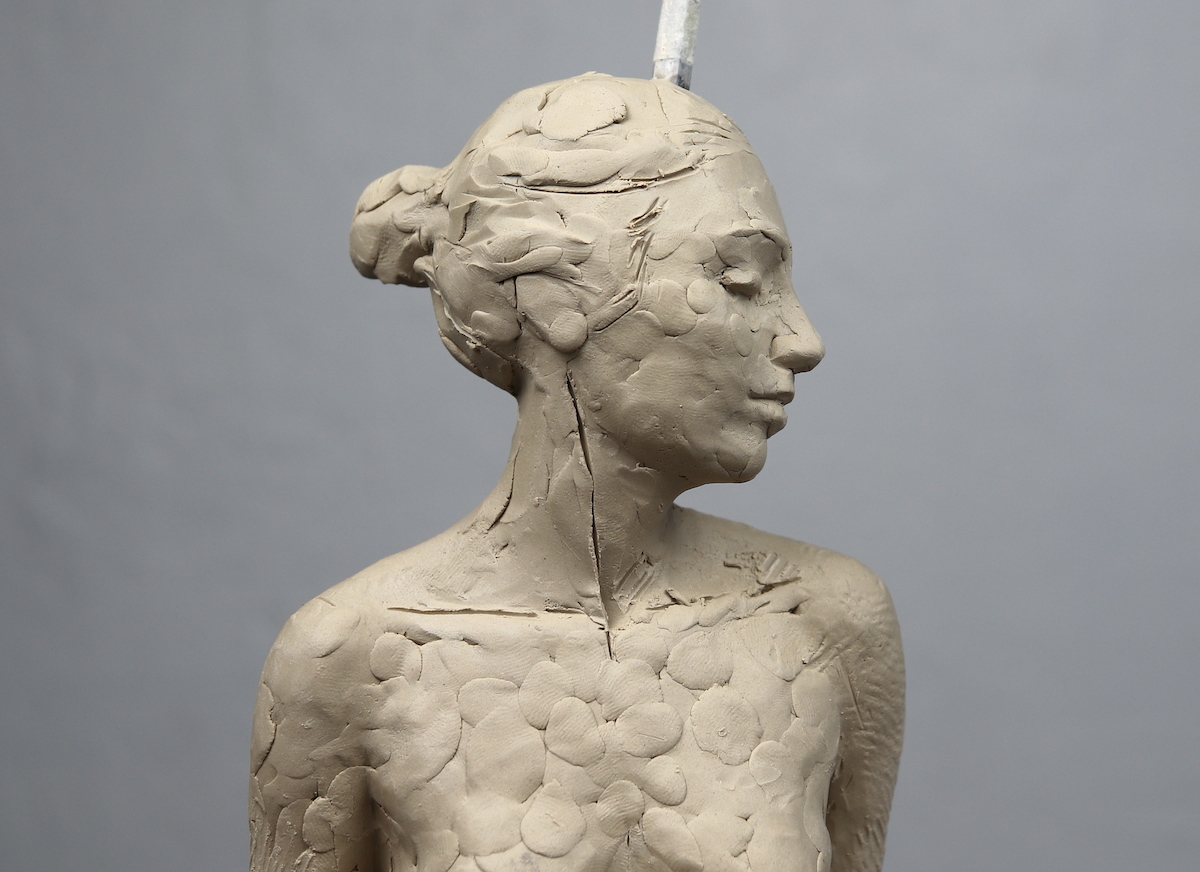
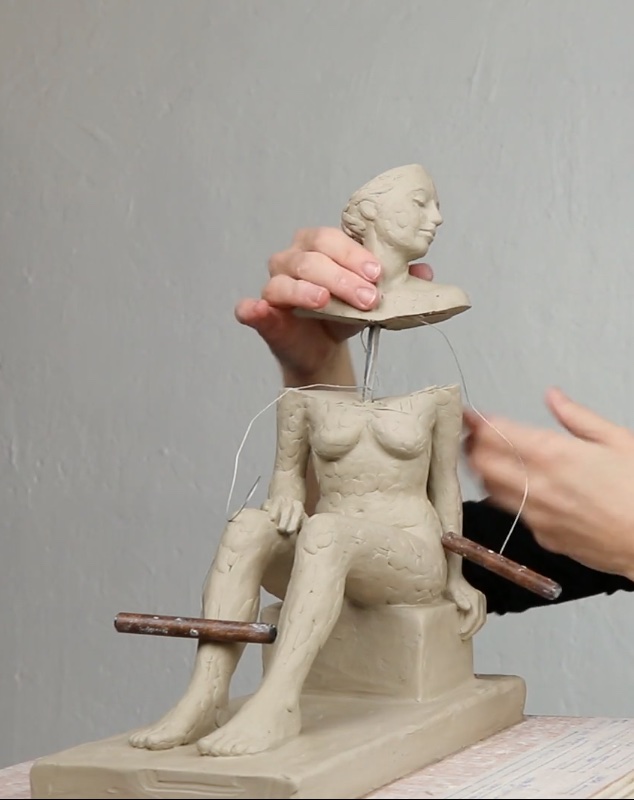
How to sculpt the Portrait

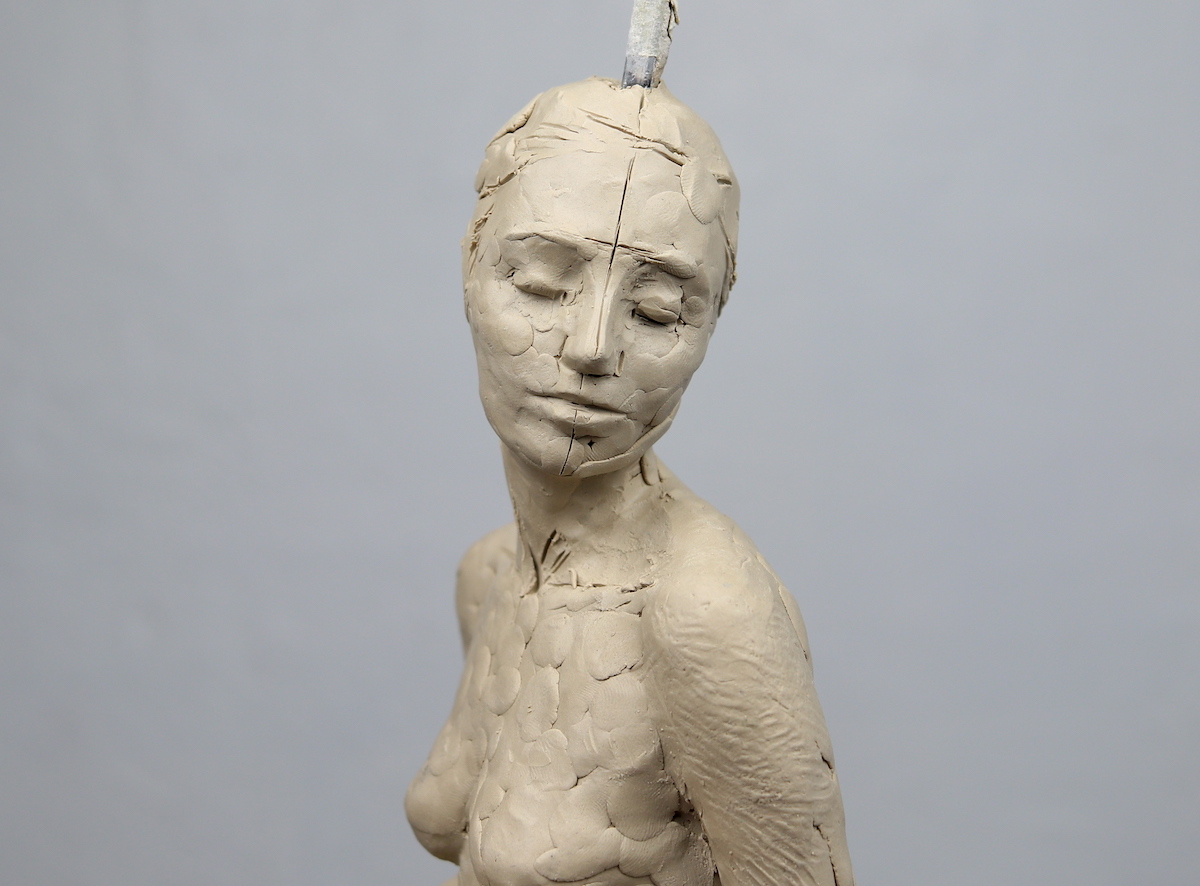
Here is where you want to capture the likeness of the model in your sculpture!
The typical facial proportions are:
- the eyes are midway in the height of the head
- the facial features are spaced in thirds
(chin to nose / nose to brow/ brow to forehead)
If you are using a model, make sure to check if their proportions are different.
It is helpful to draw these measurements right on your clay to guide you.
The profile view is one of the most helpful in determining the angles and depths of the features.
How to sculpt the Hands
Hands can be complicated because they have a lot of planes.
It’s best to focus on their essential geometry and map out the fingers with planes to get their positions (instead of fussing about details like fingernails).
How to sculpt the Feet
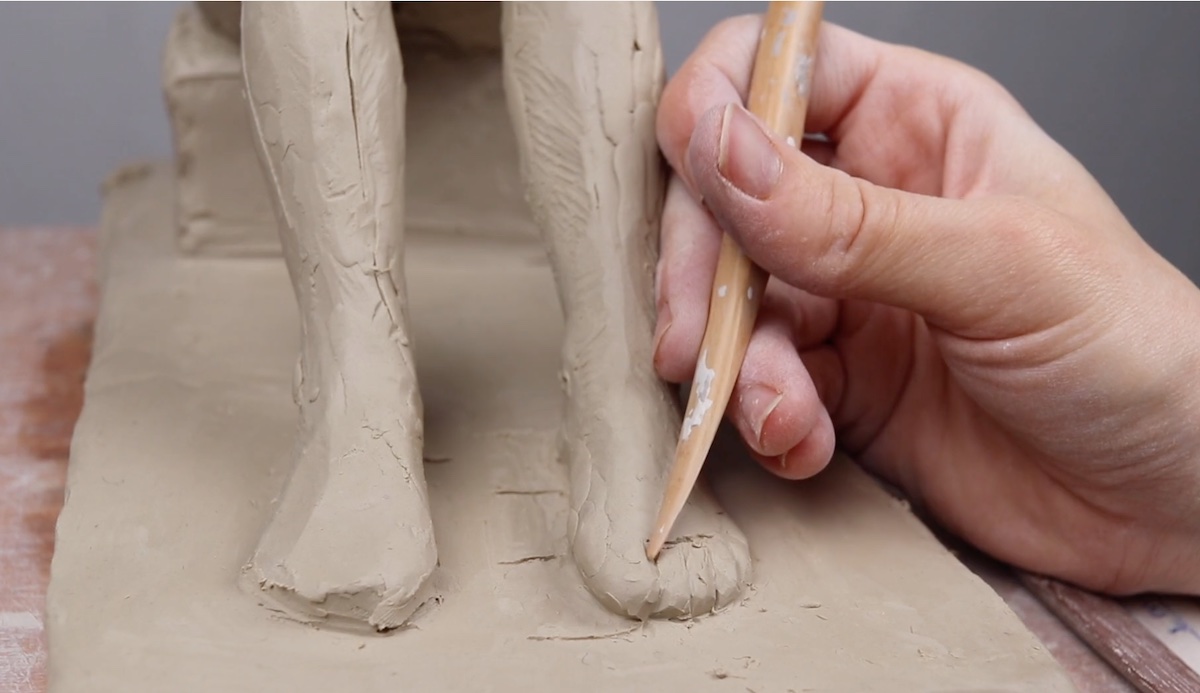
Block in the feet first and ensure they are well attached to the base. Add the smaller forms like the toes.
Once you have taken your figure study as far as you are able or wish to, it is time to finish the process…
6. How to hollow your sculpture to prepare it for kiln firing


During this stage, you will be cutting your sculpture into several pieces in order to remove the armature and scoop out the clay to create a hollow form.

You then attach the sculpture back together and refinish the seams.
Take some time to ensure your surface texture is harmonious and do any last refinements. (Don't forget about the base!)
Now all you have to do is let it dry out slowly.
Then you can fire it in a kiln to create a permanent, lasting sculpture.
That’s it, you’ve created a complete figure sculpture in clay!
Learning to sculpt the figure will open your creative practice to the world of three dimensions.
When you have the ability to sculpt the human body in 3D, to capture a strong sense of individual likeness, and realistic proportion, then you will discover a new sense of artistic freedom.
You will be able to create whatever you imagine!
There is a lot you need to understand to create a realistic figure sculpture in clay, and I’ve just given you an overview of the process here.
If you are seriously considering learning this practice, here are my next recommendations...
Your next steps in learning how to sculpt the figure
The only way to truly learn is to put this process into practice! You have to apply these sculpting principles to develop the mastery you desire.
It's best to learn from an experienced sculptor who can help you to avoid any beginner mistakes and guide you into developing a strong foundation.
If you’d like expert artistic guidance to:
- get started with a strong foundation in sculpting
- improve your current figure sculpting skills
- train your eye to see more accurately
- follow a step-by-step curriculum right from your own home
Uplevel your figure sculpting skills from home with the online Atelier Program !
Whether you are a complete beginner or a more advanced artist - I'd love to show you exactly what you need to master the foundations of figure sculpture.

ARE YOU ON THE LIST?
Online Atelier Program for Sculpture:
Master the foundations of traditional clay figure sculpting.
Enter Your Details Below to Get Notified:
You can unsubscribe at any time.