How to Keep Water-Based Clay from Drying Out: Beginner Tips
If you’ve ever returned to your sculpture only to find it cracked or dried out, this article will solve this for you once and for all. Learning how to keep clay from drying out is one of the most fundamental parts of working with water-based clay as a beginner.
In this post, you’ll learn:
- Why clay cracks or dries out during the sculpting process
- Simple ways to keep your sculpture moist while you work
- Storage tricks between sessions
- How to prevent cracking before it starts
- When the problem isn’t the clay—but the technique
- Recommendations for preventing cracks
- Free Beginner Workshop
- FAQ’s Keeping Clay from Drying Out and Cracking
Why Clay Dries Out or Cracks
Before we get into solutions, it helps to understand why water-based clay behaves the way it does, and why cracks form in the first place.
Moisture Loss Over Time
As clay dries, it loses water content and begins to shrink. This can create stress in the clay body. If some parts dry faster than others, or if the form isn't supported properly, that stress has nowhere to go and eventually shows up as cracks. Likewise, if you are sculpting over a support that does not flex, the clay will crack as it shrinks around this support.
Uneven Drying
When different parts of your sculpture dry at different speeds, the clay shrinks unevenly. This creates internal tension, especially where thick and thin areas meet. If that stress becomes too great, the clay will crack to relieve it.
Poor Storage Habits
Many beginners don’t know how to store their clay between sessions. A loose wrap, or air gap can ruin a piece overnight.
Keep reading: Clay Comparison: What Clay is Best for Sculpting?
Watch: How To Keep Clay Moist During Sculpting
Here’s a short clip from one of the lessons inside my online Atelier course. It walks you through how to keep your clay in the perfect working state.
This is one of those habits that you need to master right away, especially as a beginner.
4 Min Video Lesson Excerpt
This is just one small part of the kind of foundational support I teach inside the Atelier.
If you want a structured learning path with detailed lessons to master foundational skills:
→ Learn to Sculpt in the Atelier Program
How to Keep Clay from Drying Out While You Sculpt
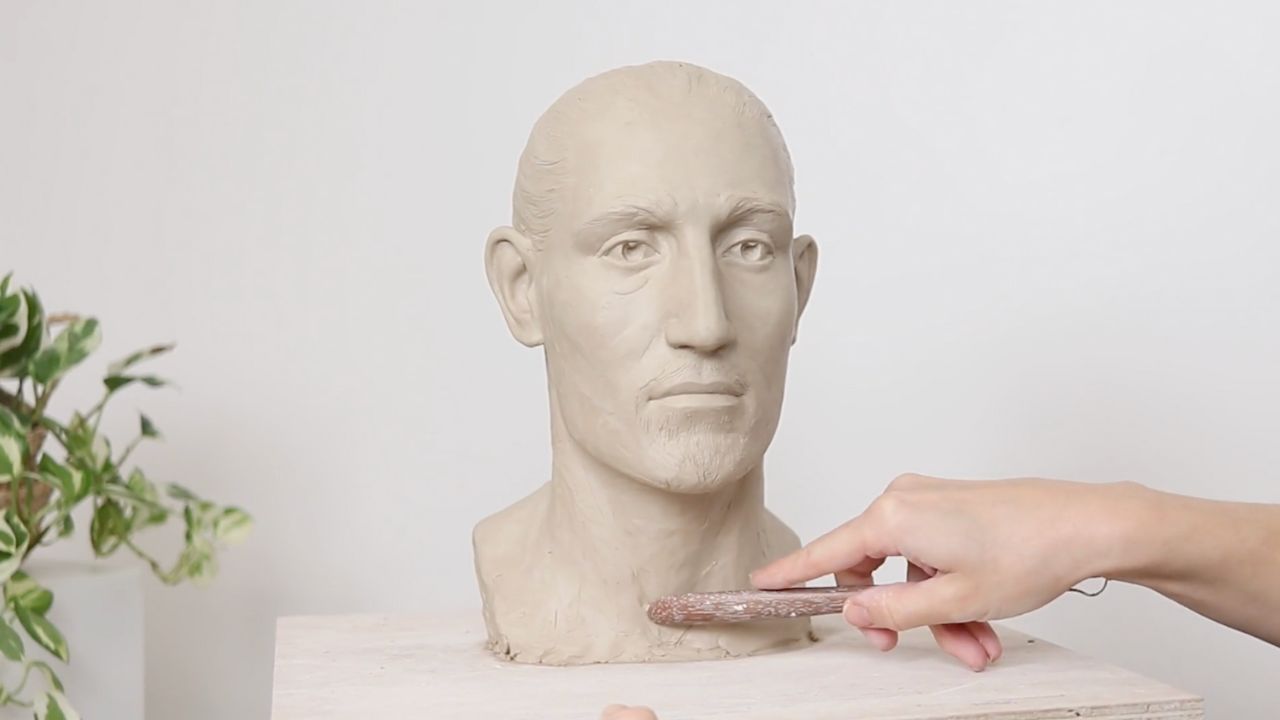
Staying ahead of dryness means developing good habits while you work.
Use a Fine-Mist Spray Bottle
Spray your clay gently and regularly during sculpting. A fine mist is better than soaking, it keeps the surface workable without making it slippery.
Get the full list of the 10 Essential Sculpting Tools: Sculpting Tools for Beginners
Drape with Damp Cloth + Plastic
For longer breaks or overnight, wrap your sculpture in a lightweight damp cloth, then cover it securely with plastic. This retains even moisture and slows drying.
Develop a Relationship with Your Clay
Every sculptor learns to understand their clay over time: fresh clay is soft and sticky, leather-hard is firm and detailed. Knowing how your clay behaves across this drying curve helps you work with it, not against it.
How to Store Clay Between Sessions
Whether you’re pausing overnight or for a week, here’s how to preserve your sculpture:
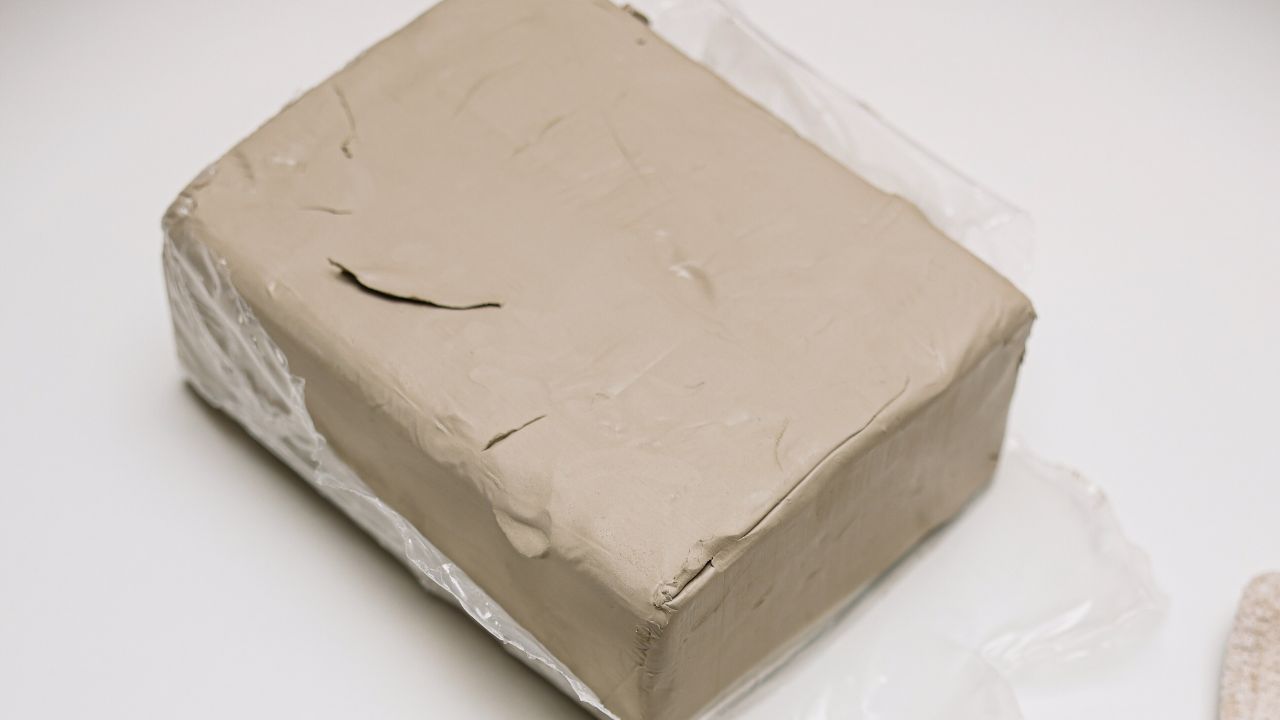
Wrap Your Sculpture Well
Fully wrap the sculpture in plastic, ensuring no air leaks. If you need to increase or maintain moisture, combine with damp cloths.
Quick tip: Make sure to use a cloth with a minimal texture to avoid having the texture transfer to your clay surface. A perfect solution is an old sheet, cut into squares.
Store Unused Clay in Airtight Bins
Store unused clay in airtight bins with a damp towel or sponge to maintain humidity. For a block of clay still in its packaging, wrap them with plastic.
Choose the Right Storage Spot
Where you store your clay matters. Keep it out of direct sunlight, away from heaters, radiators, or drafty windows. These environmental factors can cause uneven drying or accelerate moisture loss—sometimes overnight.
3 Ways to Keep Clay from Cracking While Sculpting
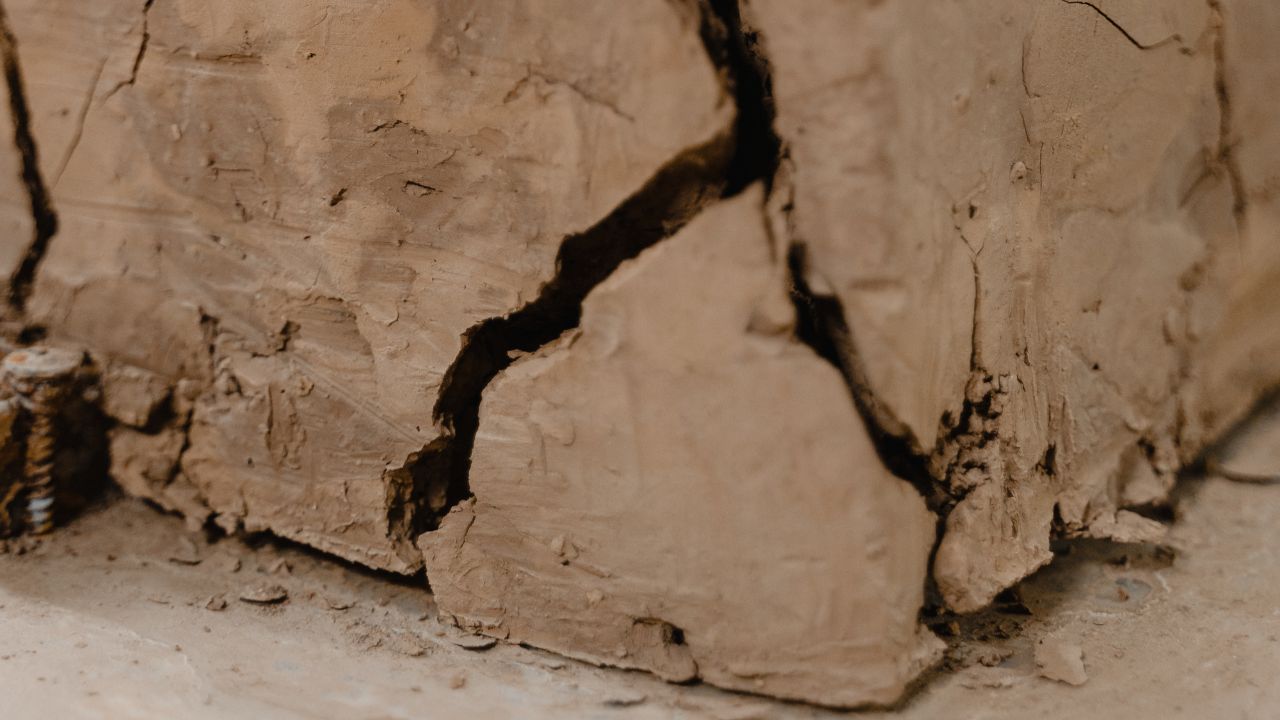
Not all cracks are the same. Some are surface-level and can be repaired with a bit of water and fresh clay. Others go deeper and usually point to a problem in your sculpting process, and not just the moisture level.
These kinds of cracks happen when your technique is off. Understanding these pitfalls will help you prevent cracks before they happen.
Here are three common causes and how to avoid them:
1. Keep Clay Thickness Consistent
Thinner areas dry more quickly. Thicker areas hold moisture longer. When your sculpture has a big difference in thickness, the tension during drying can pull the form apart. That’s why elements like fingers and ankles often crack, even when the rest of the piece seems stable.
Quick tip: If your sculpture is thicker than 1 inch, you will need to hollow it if you want to be able to kiln-fire it later.
2. Don’t Rush the Drying Process
Drying speed is one of the most common causes of cracking. It might seem harmless to place your piece near a heater or fan to speed up drying, but sudden airflow or heat can create stress fractures.
If you plan to kiln-fire your sculpting, drying should be treated as part of the sculpting process.
3. Fix Surface Cracks During Sculpting
Small cracks? Don’t wait. Spray and score the area with fresh clay to repair it. If you wait until it’s dry, repairing it becomes much harder.
When Cracks Aren’t About the Clay
Sometimes, cracking happens even when you’re careful. That’s usually a technique issue.
Pushing Your Clay Beyond its Limits
If you try to push, pull or bend clay beyond its natural plasticity, you will create stress cracks. This is not a matter of moisture content, but a misunderstanding of how to work with the material itself correctly.
Ignoring Your Environment
Dry climates, hot lights, and long sessions with your piece uncovered all speed up drying. Pay attention to your environment if you are experiencing any issues with cracking.
Recommendations for Preventing Cracks
- Fine-mist spray bottle – keep your surface workable without soaking, gives you greater control than a normal spray bottle.
- Learn how to correctly hollow your sculpture for kiln-firing – this process is essential to learn if you want to have permanent ceramic sculptures. This is one of the foundational processes we teach inside the Atelier program, especially for sculptors who want to fire their work without fear of cracks or explosions.
Want the full list of essential beginner tools? Download the Free Tool Guide
Free Beginner Workshop
Want to see what working with clay looks like when it actually works?
Join the free Beginner Workshop and follow along with a simple sculpting project that’s designed to teach proper setup, sculpting habits, and drying techniques, so your clay stays workable and your sculpture holds together.
→ Join the Free Beginner Workshop
FAQ: Keeping Clay from Drying Out and Cracking
How do I keep my clay sculpture from drying out overnight?
Wrap your sculpture tightly in plastic with no air gaps, and cover with a damp cloth if needed. Store it out of sunlight and away from heaters. For longer breaks, check and rewrap as needed to maintain even moisture.
Why does my clay keep cracking while I sculpt?
Cracking usually comes from uneven drying, inconsistent wall thickness, or overworking your clay. It’s not always about moisture, it also reflects process and technique. These are preventable with the right habits.
Can I fix cracks once the clay is dry?
You can try, but repairs are rarely as strong. It’s better to catch small cracks during sculpting, when the clay is still workable. Score and add fresh clay while it's moist to repair the weakness.
Final Thoughts
Clay is a responsive, living material. The more you learn to work with it—not against it—the more rewarding your sculpting process becomes. I hope this article gave you practical tips, and a sense of how much more is possible when you have guidance on your sculpting journey.
ARE YOU ON THE LIST?
Online Atelier Program for Sculpture:
Master the foundations of traditional clay figure sculpting.
Enter Your Details Below to Get Notified:
You can unsubscribe at any time.