Best Clay for Sculpting Busts: A Guide for Realistic Portrait Work
You’re about to sculpt a portrait bust - maybe for the first time. It’s a meaningful project: you’re trying to capture the essence of a person in clay. You want the result to feel realistic, expressive, and refined. And that starts with using the right materials.
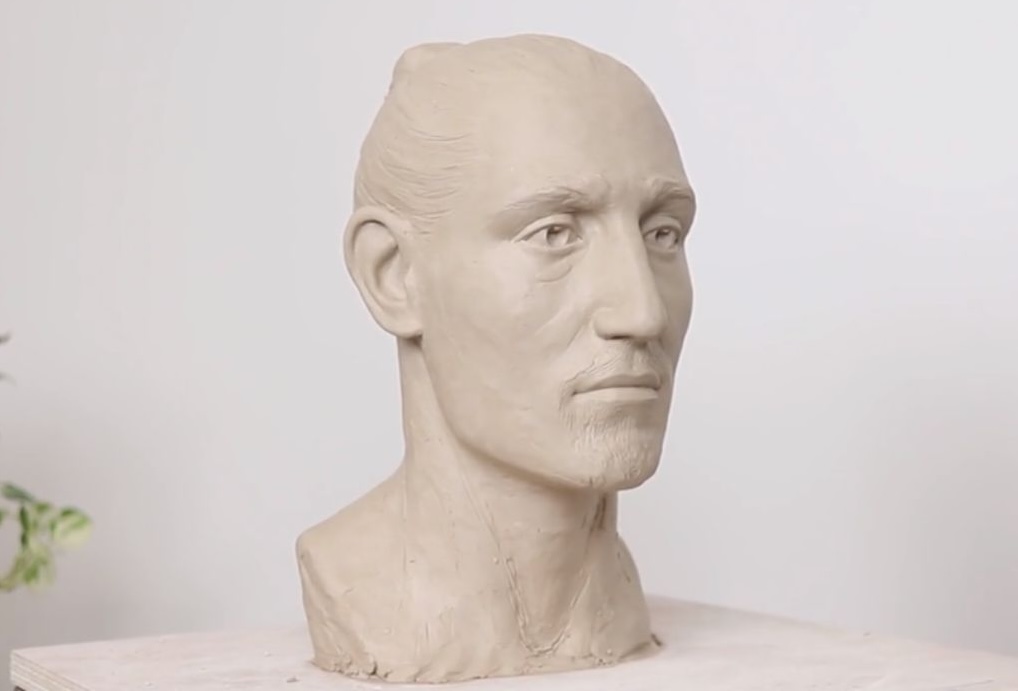
Over the years, I’ve sculpted many portraits—including private commissions and public works. But no matter the scale or setting, every portrait bust I make starts from the same classical foundation I now teach inside the Atelier.
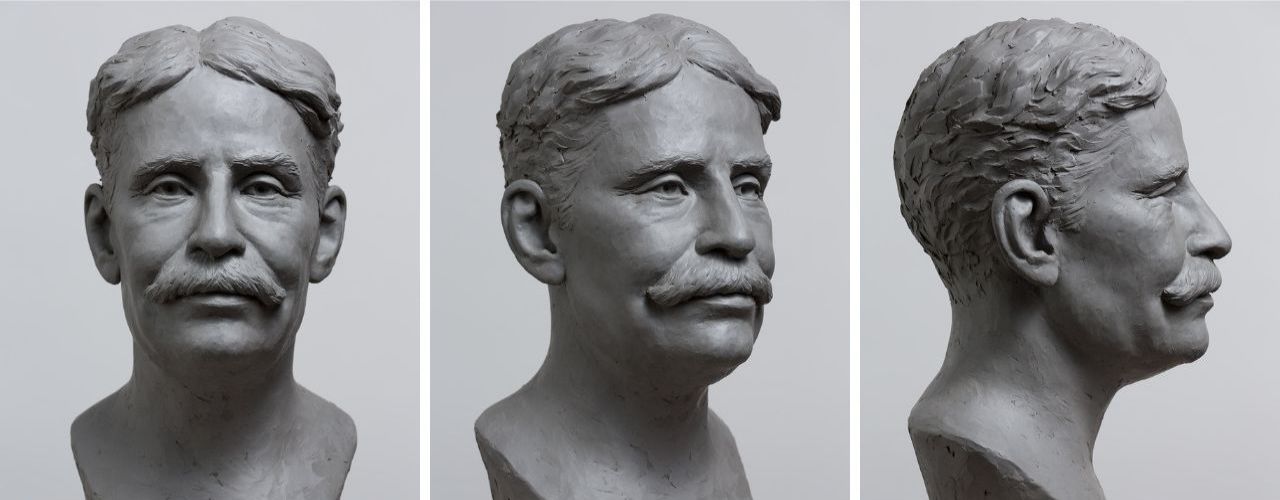
Image: Robert Borden – clay portrait bust for bronze monument commission
The good news? You don’t need a specialty clay to sculpt a bust. But there are a few important things to know if you want your material to support your process - whether you’re firing the piece, casting it, or simply aiming for a strong, satisfying result.
In this guide, I’ll walk you through which type of clay is best suited for portrait busts, what to avoid (like overly gritty clay or stiff air-dry formulas), and how to set yourself up for success, no matter your experience level or studio setup.
Of course, knowing which clay to use is just the beginning. What truly brings a bust to life is how you capture the individuality of the subject you are sculpting.
Want the full list of clays and tools I recommend for classical sculpture?
Download the free Tool Guide here.
Table of Contents
- Why Busts Require Specific Clay Qualities
- Best Clay Type for Sculpting Busts
- What About Other Types of Clay?
- Quick Clay Checklist for Busts
- Tips for Sculpting Busts with Water-Based Clay
- Get the Free Tool Guide for Beginners
- Go Deeper with Portrait Sculpture
Why Busts Require Specific Clay Qualities
Unlike small decorative pieces, busts require a clay that stays workable at scale, captures fine detail, and offers enough working time to refine expression.
The clay needs to stay workable as you build
When sculpting a bust, you’re shaping a lot of volume—head, neck, possibly shoulders—and you want to be able to move across those forms smoothly. A good sculpting clay stays soft and responsive while you build, so you can adjust proportions, add material, and refine surface forms without fighting against the clay.
This quality is called plasticity: it means the clay holds together while you work, but still lets you shape and refine with ease. If the clay is too dry, crumbly, or stiff, it becomes hard to form smooth transitions or make changes as you go.
The human face needs a clay that holds fine detail
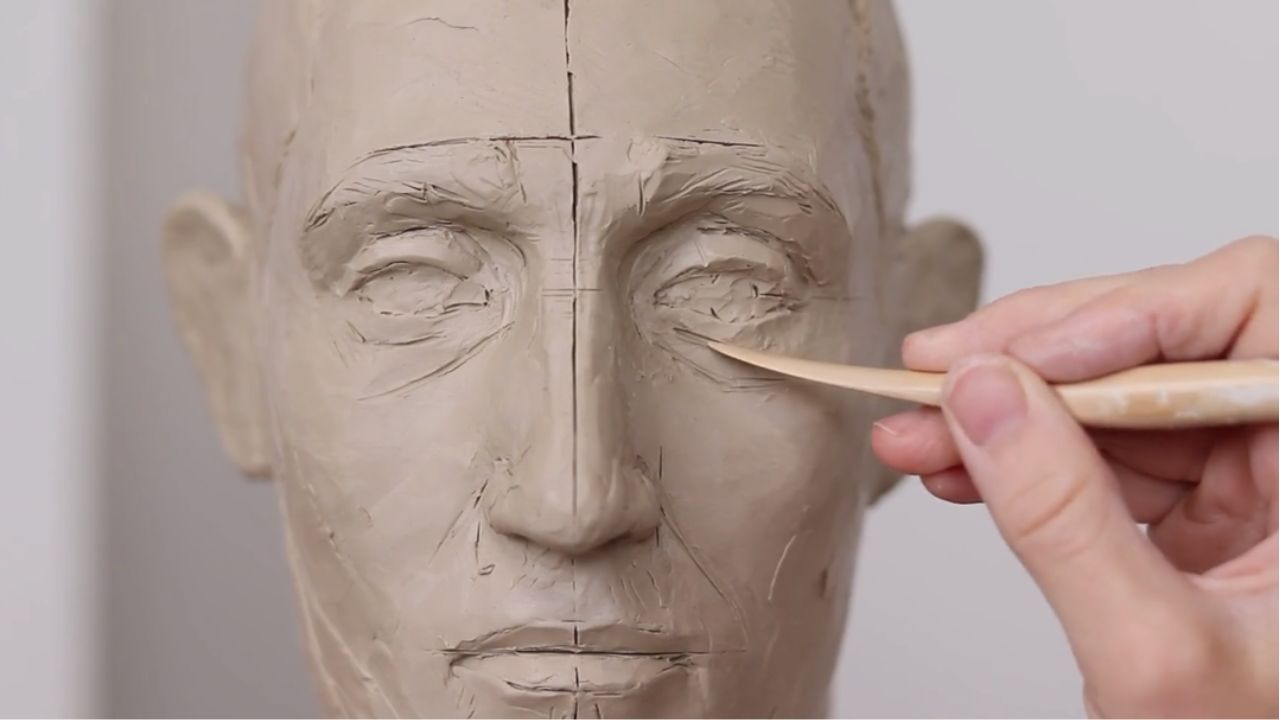
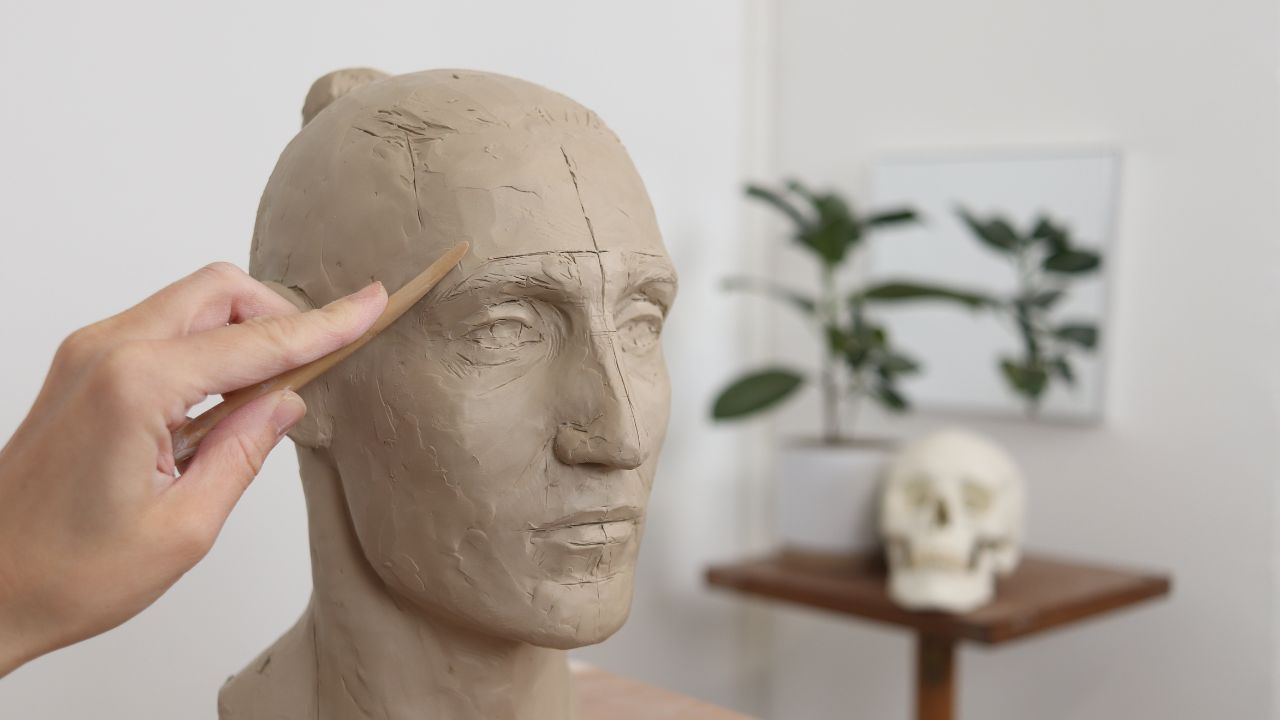
Once you’ve built the main forms of the bust, you’ll move into refining surface planes and facial details. At this stage, you want a clay that holds its shape but still responds gently to your touch - so you can soften a transition, shape an eyelid, or smooth a plane with precision. Of course, knowing when and how to refine each area requires technique and practice, and having guidance can help you avoid overworking or losing form as you go.
Longer working time matters
Sculpting a portrait bust isn’t usually a one-day project. It often takes weeks or even months to build, refine, and revisit your work. That means your clay needs to stay workable over time.
Consider the final finish
If your portrait bust will be a finished, fired sculpture (rather than a mold for casting), choose a clay body with a surface quality that suits the subject. Clays fire to different colors—terracotta, warm buff, off-white, or even darker greys—and each one gives a different emotional tone to the finished work.
Think about whether you want a warm, earthy feel, a pure white surface, or something in between. Once fired, that tone becomes part of the sculpture’s presence.
Best Clay Type for Sculpting Busts
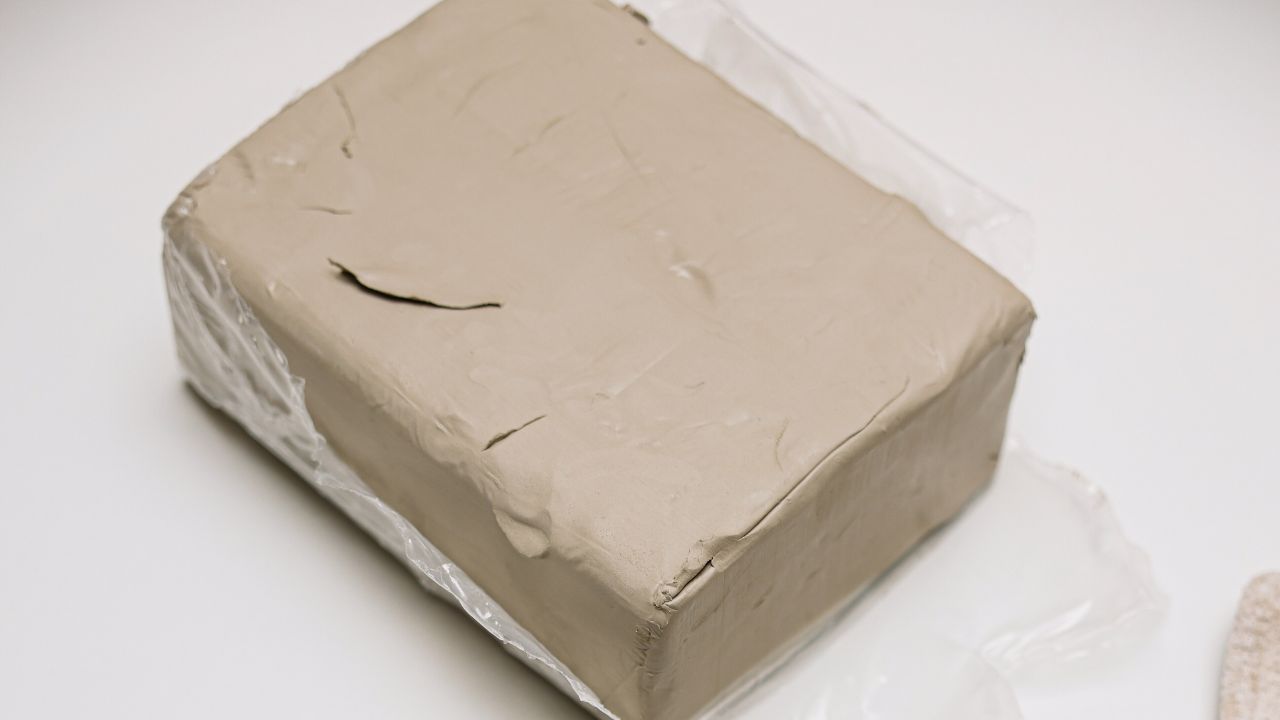
For realistic, hand-built portrait busts, water-based clay with fine grog is the most versatile and beginner-friendly material.
It offers:
- Excellent responsiveness to touch and tools
- A natural feel that helps you understand form
- Flexibility to either fire or mold for casting
What About Other Types of Clay?
Oil-Based Clay (e.g. Plastilina)
Oil-based clays are widely used in professional studios, especially in special effects, character design, and moldmaking projects. They don’t dry out, which means you can sculpt over long periods - but they require a moldmaking setup to finish the piece.
They're ideal for projects that will be cast in resin or bronze, but less suited to beginners working toward a finished clay piece. If you're working in fine art or portraiture and want to fire your sculpture, water-based clay will give you a more direct and forgiving process.
Air-Dry Clay
Air-dry clay might seem beginner-friendly, but for busts, it’s often frustrating to work with. It lacks plasticity, which makes it harder to shape large forms quickly or model smooth transitions. It is harder to create subtle detail, and it can feel crumbly under your tools. If you want to create refined form and expression, water-based clay gives you far more flexibility.
→ Want to compare all common clay types? Read the full clay comparison guide.
Quick Clay Checklist for Busts:
There’s no single “best brand” of clay - but there are certain qualities to look for if you want your bust to hold form, detail, and finish well.
Here’s what to keep in mind as you shop:
- Water-based clay suitable for sculpting
- Holds fine detail (no coarse grog)
- Low-fire recommended (more forgiving for beginners)
- Choose color intentionally (if firing)
Want to make sure you’ve got the right tools?
Whether you're sculpting your first bust or setting up your home studio, this free PDF includes the 10 tools I recommend to every beginner. These are the same tools I use in all my beginner workshops.

7 Tips for Sculpting Busts with Water-Based Clay
1. Use internal armature or support structure
Busts are heavy, especially before hollowing. An internal support (like a wooden or metal armature) is essential to keep the sculpture from slumping during the sculpting process.
You can purchase store bought ones, but I like to build my own armatures, so they match the proportions and pose exactly. Inside the Atelier, I show students exactly how to build this type of portrait armature, designed to support the weight and proportions of a portrait bust from start to finish.
2. Mist clay regularly, but don’t oversaturate
A light misting keeps the surface from drying too quickly during long sessions. Use a spray bottle with a fine mist, and avoid over-wetting, which can cause surface softening or erosion.
3. Cover sculpture between sessions with plastic
To keep your clay workable across days or weeks, loosely cover your sculpture with a damp cloth and plastic to retain moisture. This slows drying and helps maintain the level of moisture in your clay over time. You can easily keep a sculpture pliable for months using this simple method.
4. Refine detail when clay is firm—not too soft
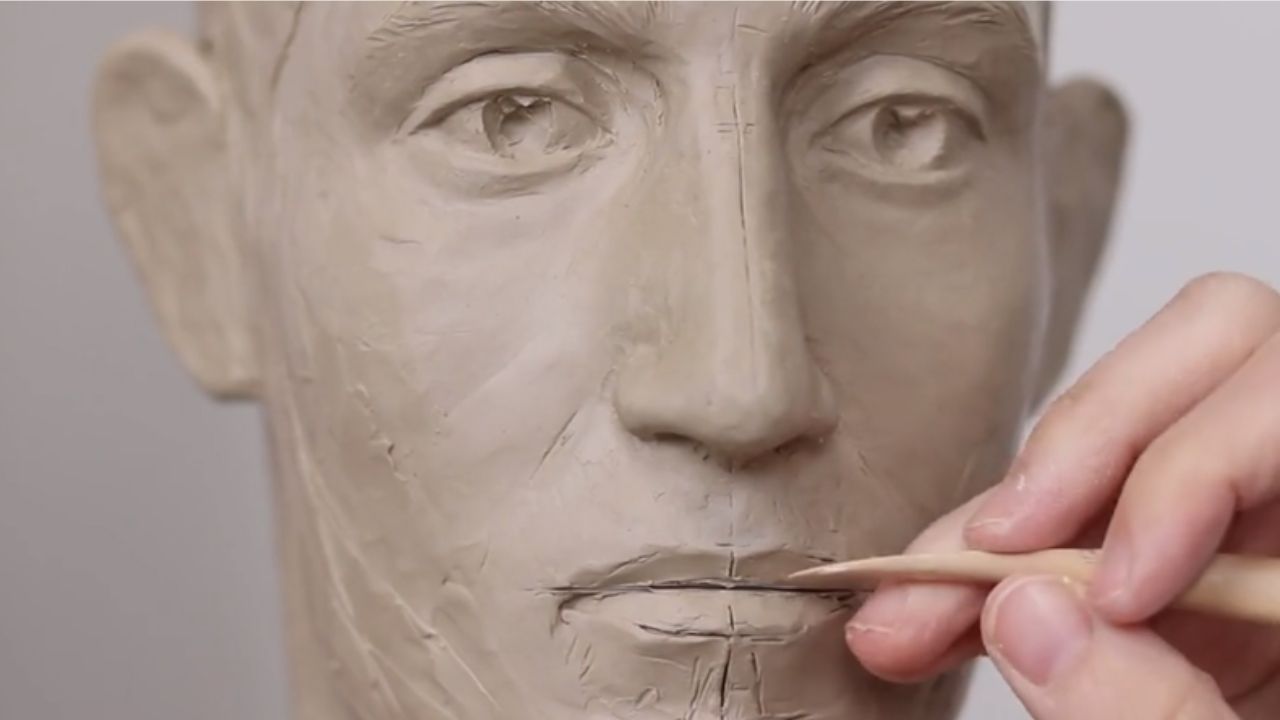
The best time to shape edges, develop forms, or smooth transitions is when the clay has firmed up a bit but is still easily workable. If the clay is too soft, you’ll have less control and may end up pushing the clay around rather than refining the forms. And if it dries too much, it becomes harder to model - so aim for that sweet spot where the clay holds its shape but still responds to your touch.
Many students overwork or get frustrated at this stage because they don’t have a clear sculpting process to follow. Building a believable head is a skill that’s hard to develop on your own.
5. Prepare your sculpture for firing by hollowing
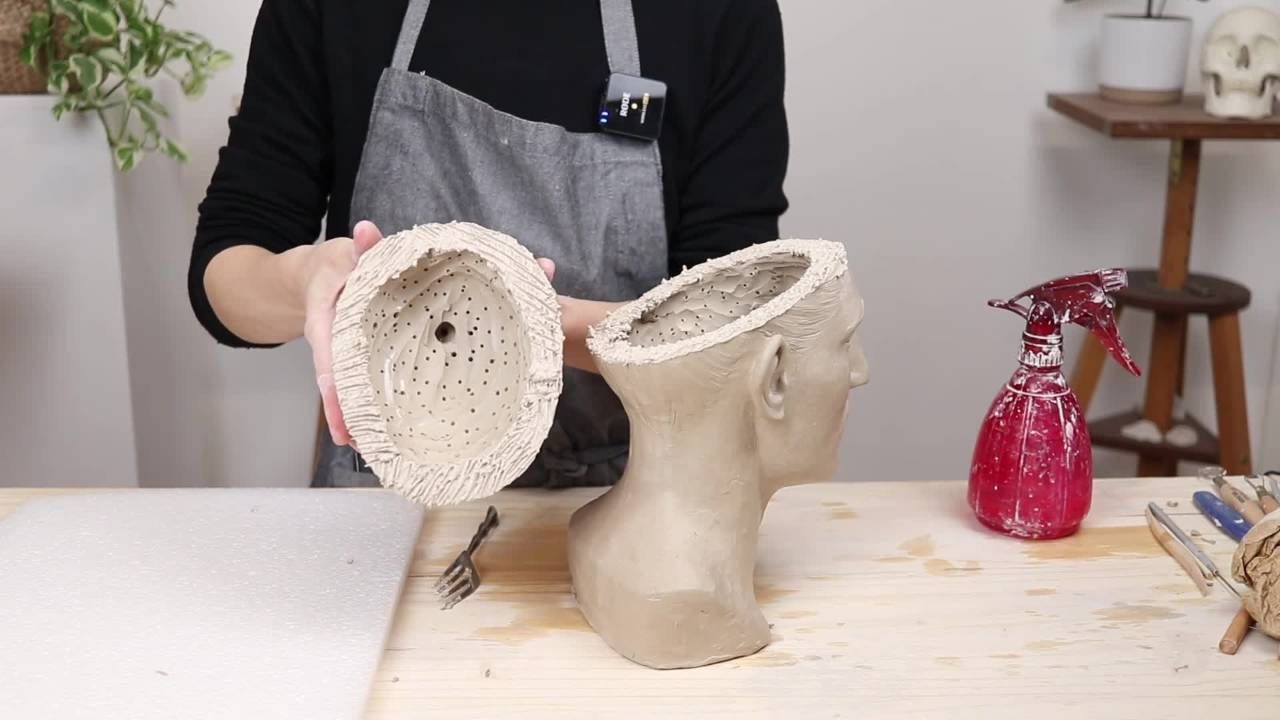
If you plan to fire your portrait bust, it can’t be left solid. Larger sculptures need to be hollowed so moisture can escape safely, otherwise, you risk cracking or even explosions in the kiln.
This step can feel intimidating the first time, especially when you’re working on a piece you’ve invested so much in. You need to be sure you have a clear step-by-step method to follow. That’s why I walk students through it slowly, with clear visual demos and examples, inside the Atelier program.
→ Learn more about the Atelier Program here.
6. Slow dry before firing to prevent cracks
Drying slowly and evenly is one of the best ways to protect all the work you’ve put in. Let your sculpture rest under plastic for at least a week, then uncovered in a dry room for two weeks or more before firing. This will prevent any stress cracks from the clay drying out too quickly.
7. Clay shrinks as it dries and fires
This is something many beginners don’t realize: clay naturally shrinks a bit as it dries and again during firing (usually around 5–10%, depending on the type). This becomes especially important if you're aiming for a specific size (like a life-size bust) where proportions need to hold up after firing.
That’s why I teach my students how to use direct measurement techniques, because they give you control over proportion and scale from the start.
Get the Free Tool Guide for Beginners
Want to sculpt portrait busts with confidence? I’ve put together a free PDF guide with the 10 essential tools I recommend to every student. These are the same tools I use in the studio and recommend to students in my Atelier program.
Whether this is your first portrait bust or one of many, working with the right clay and tools can help you sculpt with more ease.
Ready to go deeper with portrait sculpture?
Now that you know what clay to use, the next step is learning how to actually sculpt a portrait bust with confidence.
Having the right materials is only the first step in the process. The real challenge, and reward, comes in how you build the structure, develop expression, and bring the form to life.
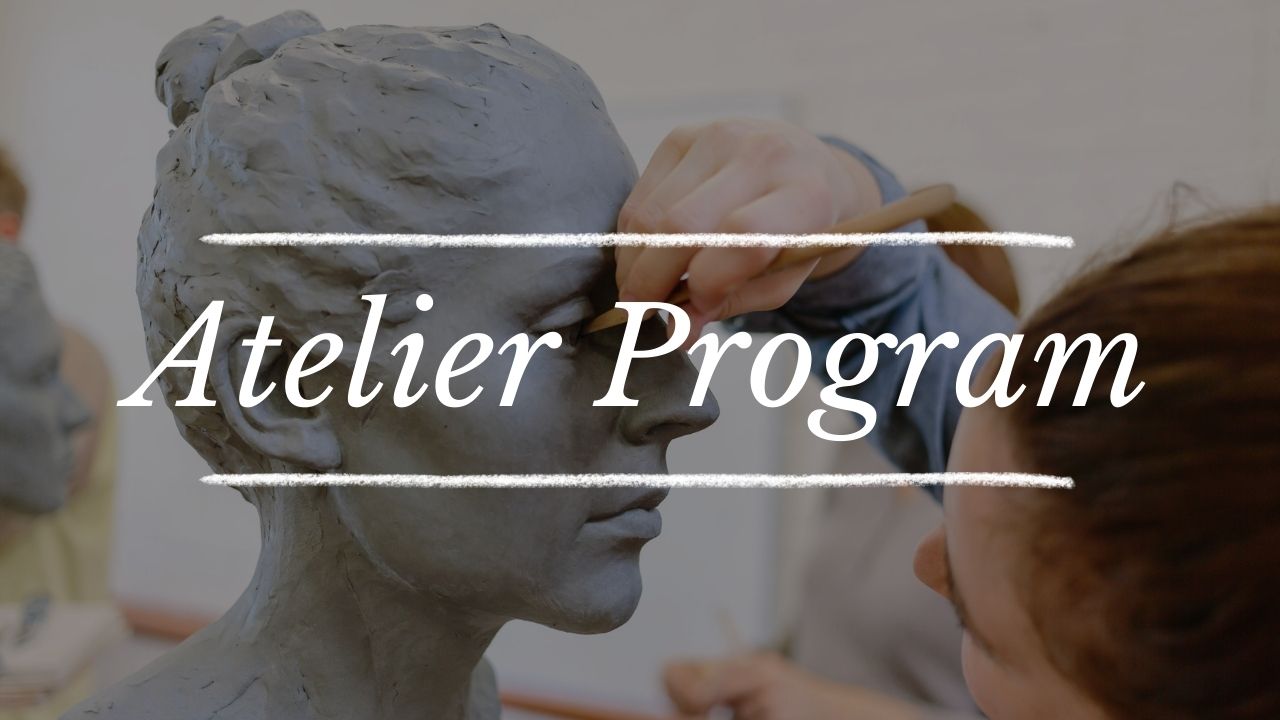
I teach a full step-by-step path for sculpting portrait busts inside my Atelier program - from building the armature to refining anatomy and expression. You'll learn classical methods, build lasting skills, and join a supportive community of sculptors around the world.
→ Learn more about the Atelier program here.
“I just finished the portrait of Edward. I had put off attempting a full head portrait because I thought it would be way too difficult for me, but I finally decided to just go for it. It took a while, but it went better than I expected. Melanie’s instructions and reminders throughout the videos were so helpful and spot on! I’m really excited that I could actually do it!” — Atelier Student
Wherever you are in your sculpting journey, I hope this post gave you clarity, confidence, and a sense of what’s possible with the right guidance and support.
ARE YOU ON THE LIST?
Online Atelier Program for Sculpture:
Master the foundations of traditional clay figure sculpting.
Enter Your Details Below to Get Notified:
You can unsubscribe at any time.